
QGIS and QField App Test Drive
I had to do a project the other week using open source software so I thought I would give QGIS a good workout. I already had experience converting Q maps to web maps using leaflet. I thought, why not take it one step further and use the QField Collector app to collect some data from around BCIT and update my map? I decided to map the Emergency Response Telephone Stations that we have on campus. My goal was to list the year they were installed, the current condition and the sector of campus they were located in.
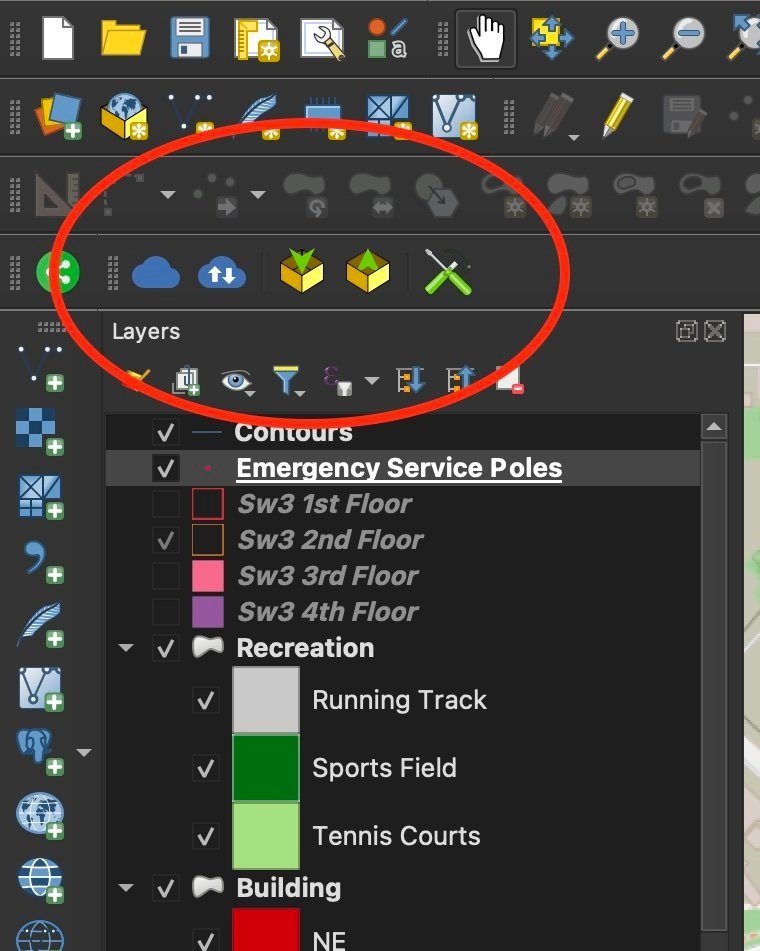
Installing the QField Plugin adds new tools to your toolbar. Everyone loves new tools!
Setting it up - Using the QField app to add data to QGIS
I started out by creating a new class called “Emergency Lamposts”, I gave them simple attributes such as “year built”, “condition” and the “quadrant” of campus they’re located in. All of this must be done in QGIS itself, as the app is meant just for collecting the data, not intense geodatabase setup. Once you have your framework built, you open the app, sync your project and then you can go out and start collecting data.
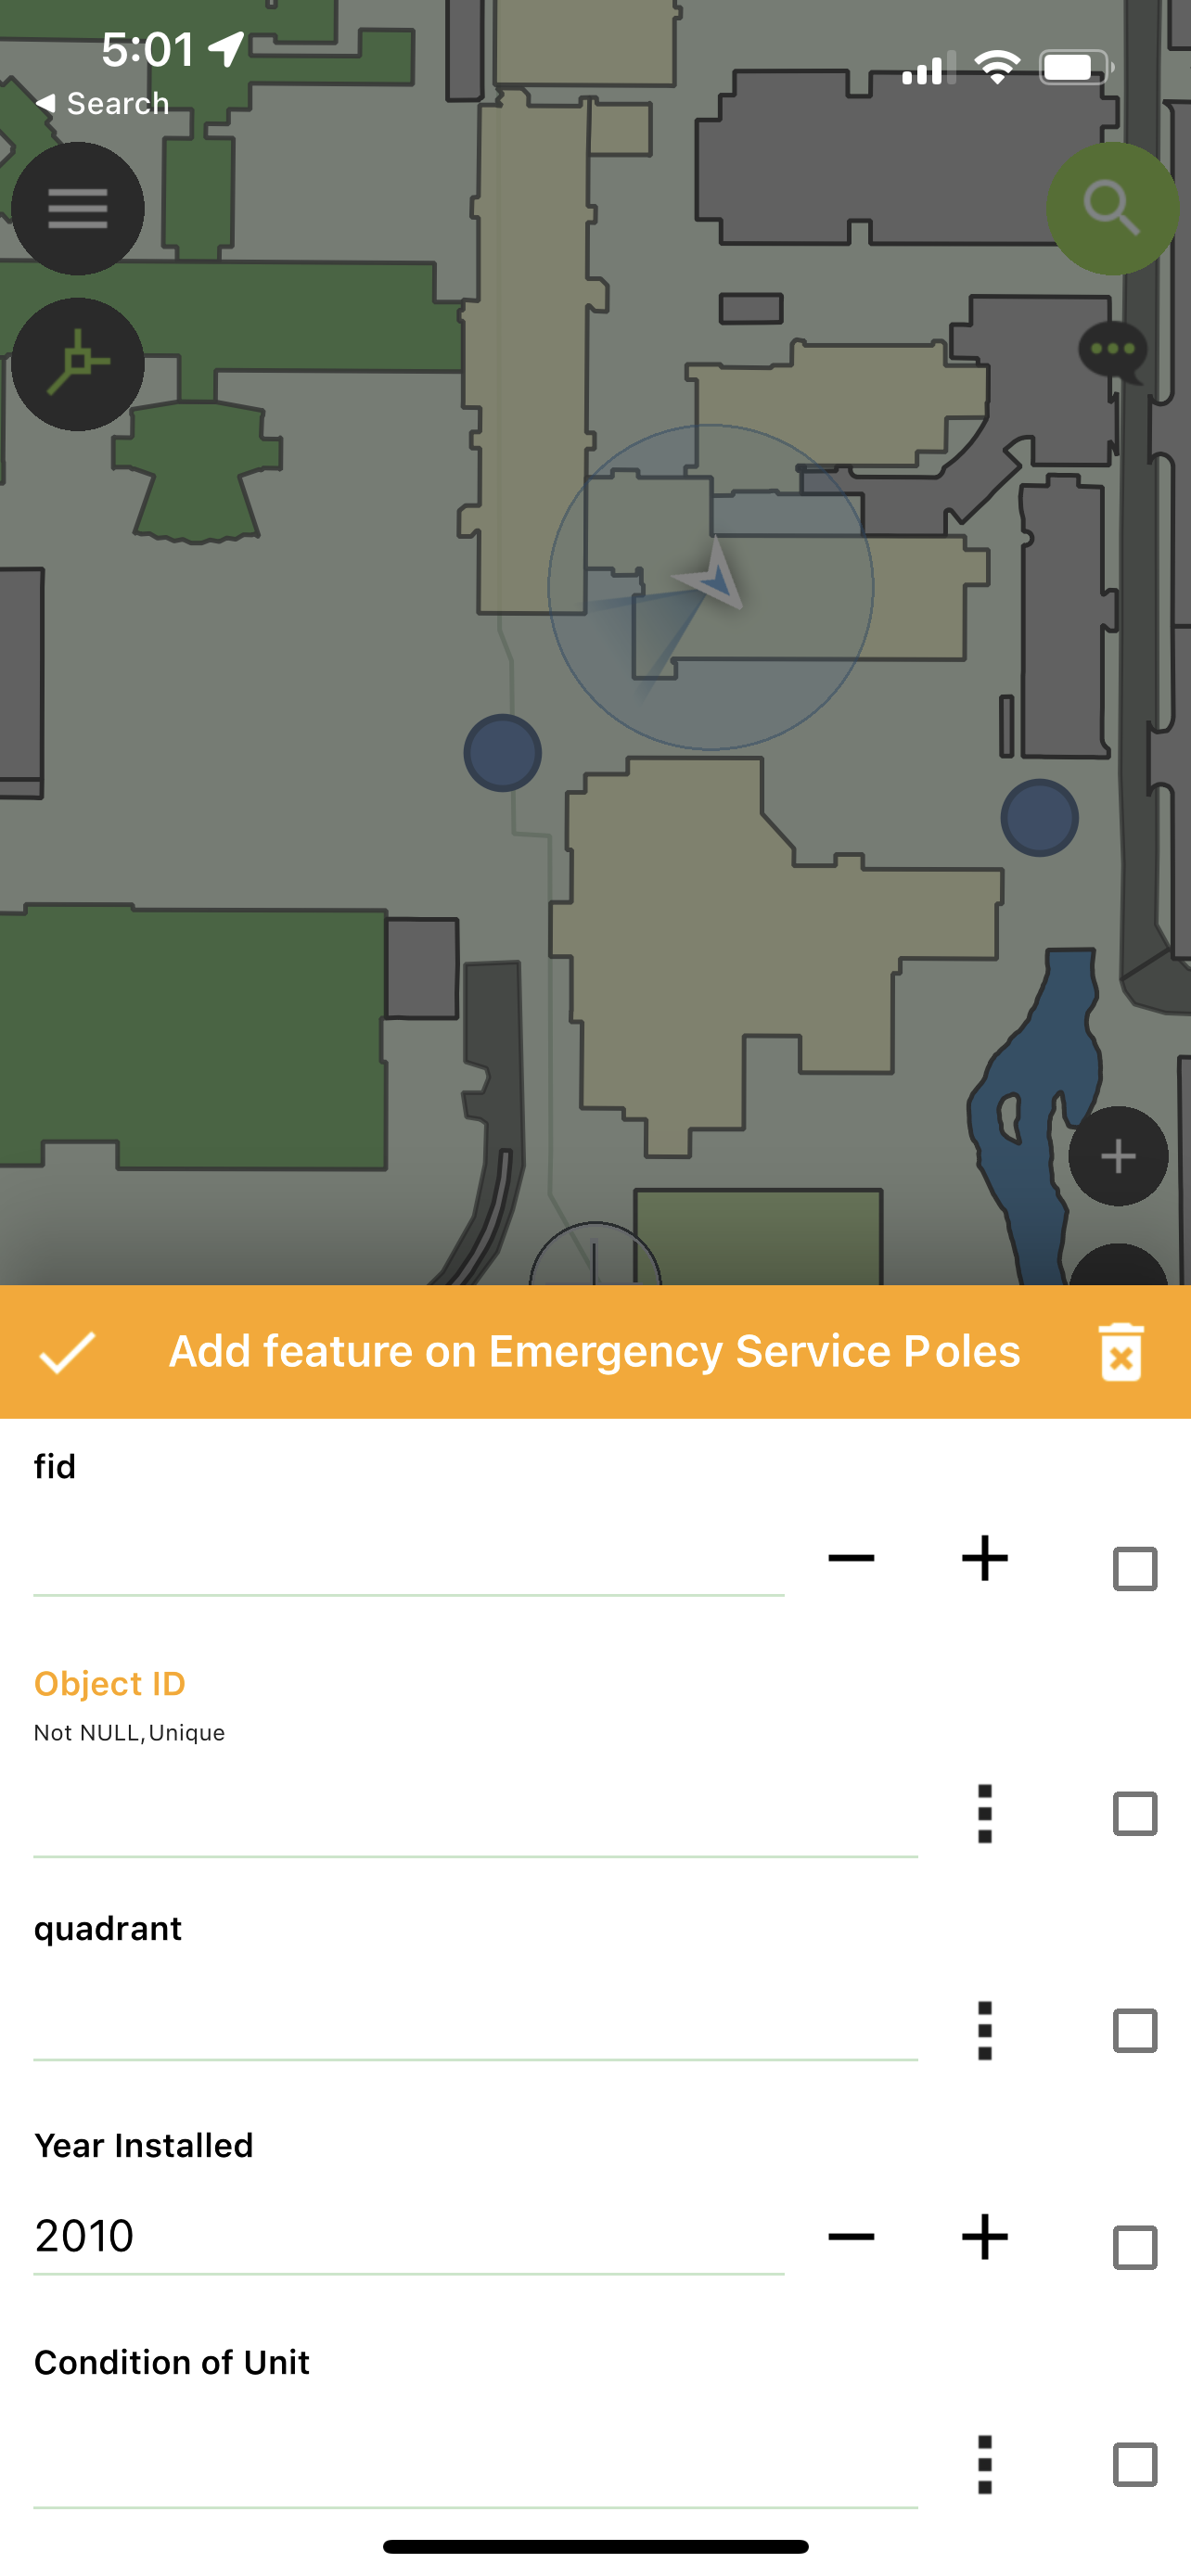
Screenshot of the app, ready to receive attribute data
Once the data has been collected you sync QField to the cloud. When you get back to your desktop QGIS, you can download the synced data to your map. The overall process is very easy to use and you even get 1GB of free cloud storage with your QField account.

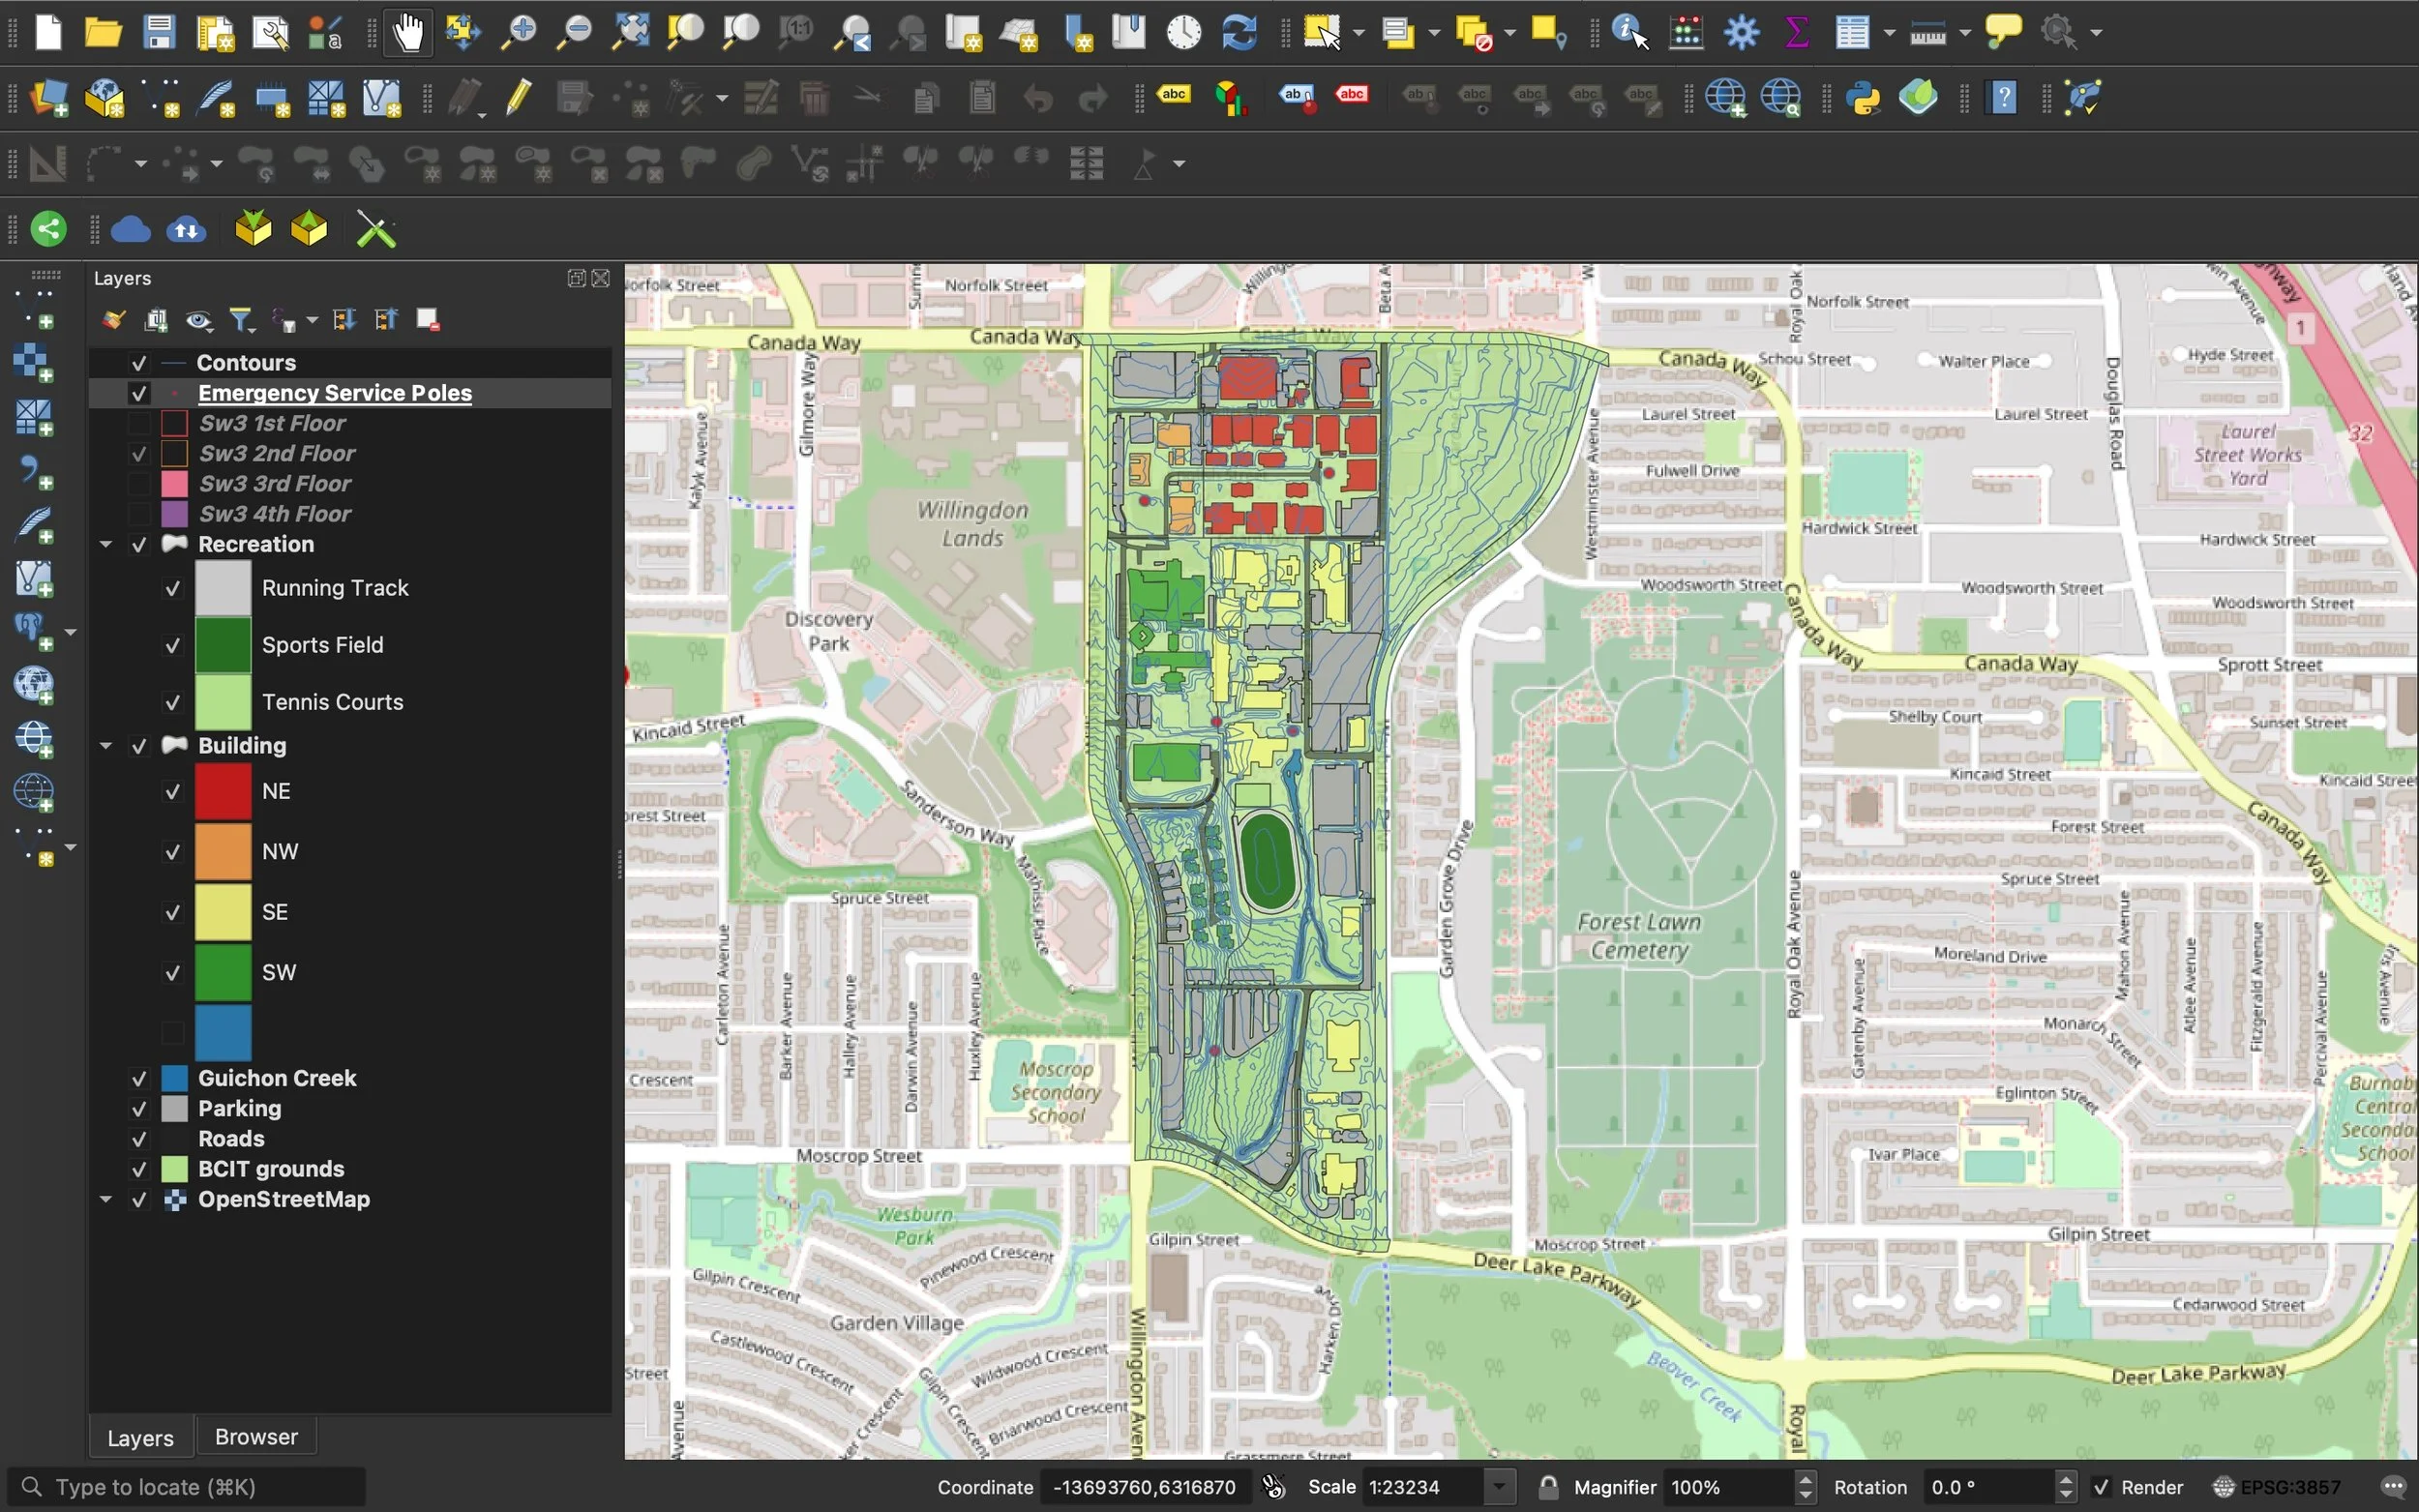
Screenshot of the map on QField. Because the app uses the same rendering engine as QGIS, the app and the desktop maps look great!
It wouldn’t be complete without using another of my favorite plugins - QGIS2Web. I took my newly updated map and coded it to Leaflet which I then hosted on BCIT’s server. Check it out here